
Are you a beginner, trying to insert an image in your HTML code? Don’t worry, you are at the right place. In this article, you will find the 3 easy steps for adding an image in HTML.
Before starting, always keep in mind that we have to use the HTML <img> tag to insert an image in any HTML code. In this tag, we have to define the image path with the src=”image.jpg” attribute.
<img src="image.jpg" alt="image" />An image makes a web page more impressive, which is why we use the tag to place an image on a web page. If you’re not familiar with html so, you should know how to add link on image in html.
If you are still in trouble with how to add an image in html so, follow these steps.
How to Insert an Image in HTML
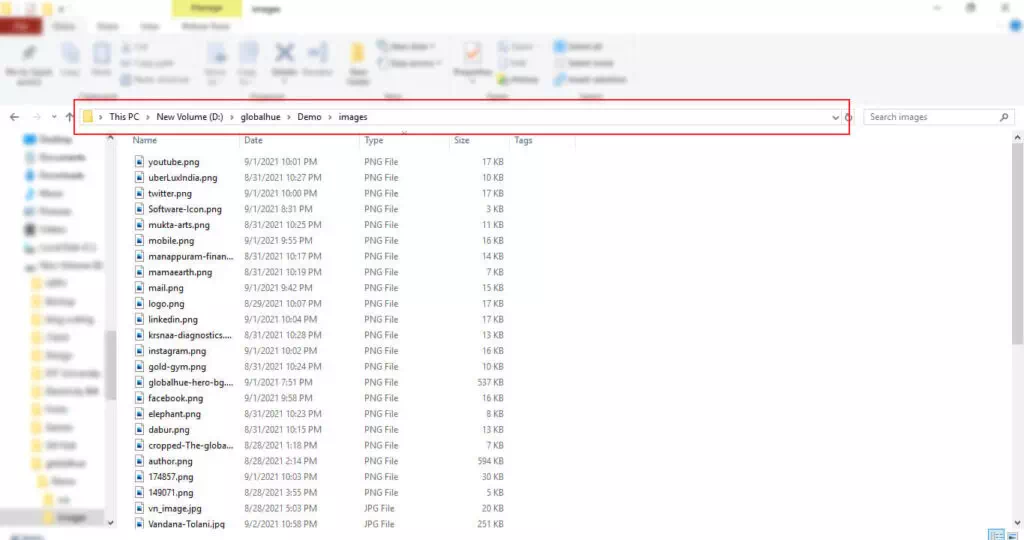
Step 1: Create a directory
Create a new directory or folder in your system where you are writing an HTML document. Now give a name to that directory or folder, like images. Identify first your image directory path. If you give the wrong path, the image will not show on your web page. Find your image directory location in your system’s address bar.
Step 2: Add the full path of your image
Add your image path to your HTML document where you to show the image. After adding your directory path now write your image name with an extension like jpg, jpeg or png.
<img src="/images/apple.jpg" alt="apple" />Step 3: Check the path and save
Verify your image path is correct, then save your HTML document and run it in the browser.